
Pearl Milet Dosa - Kambu Dosa - Bajra Dosa - Millet Recipes - Healthy Tiffin with Millets

Pearl millet is a perfect tiffin for relaxed weekends at home. It is a better way to introduce millet-based dishes for your kids for weekend breakfast. 


I like the mild flavour in the pearl millet especially in the dosas. You can smell the mild flavour while cooking the dosas. Pearl millet is called kambu in Tamil and bajra in Hindi is a gluten free whole grain. Due to its numerous health benefits, we have to include in our diet monthly twice or thrice. Kambu flour is mostly used for making instant dosas, and roti. This is a fermented dosa batter recipe and I have used whole pearl millets, rice, black urid dal and fenugreek. I soak the pearl millets along with the rice for 4 hours. Soaking the pearl millets for a longer time helps to blend them better and have perfect soft fluffy texture. You can replace black urid dal with white urid dal. This pearl millet dosa is similar to our mulu ulundhu dosa. This dosa tastes good with small onions chutney, onion garlic onion chutney and ellu podi. Now let's see how to make Pearl millet dosa.

Here is the video link for Kambu Dosa


Check out my other tiffin recipes here

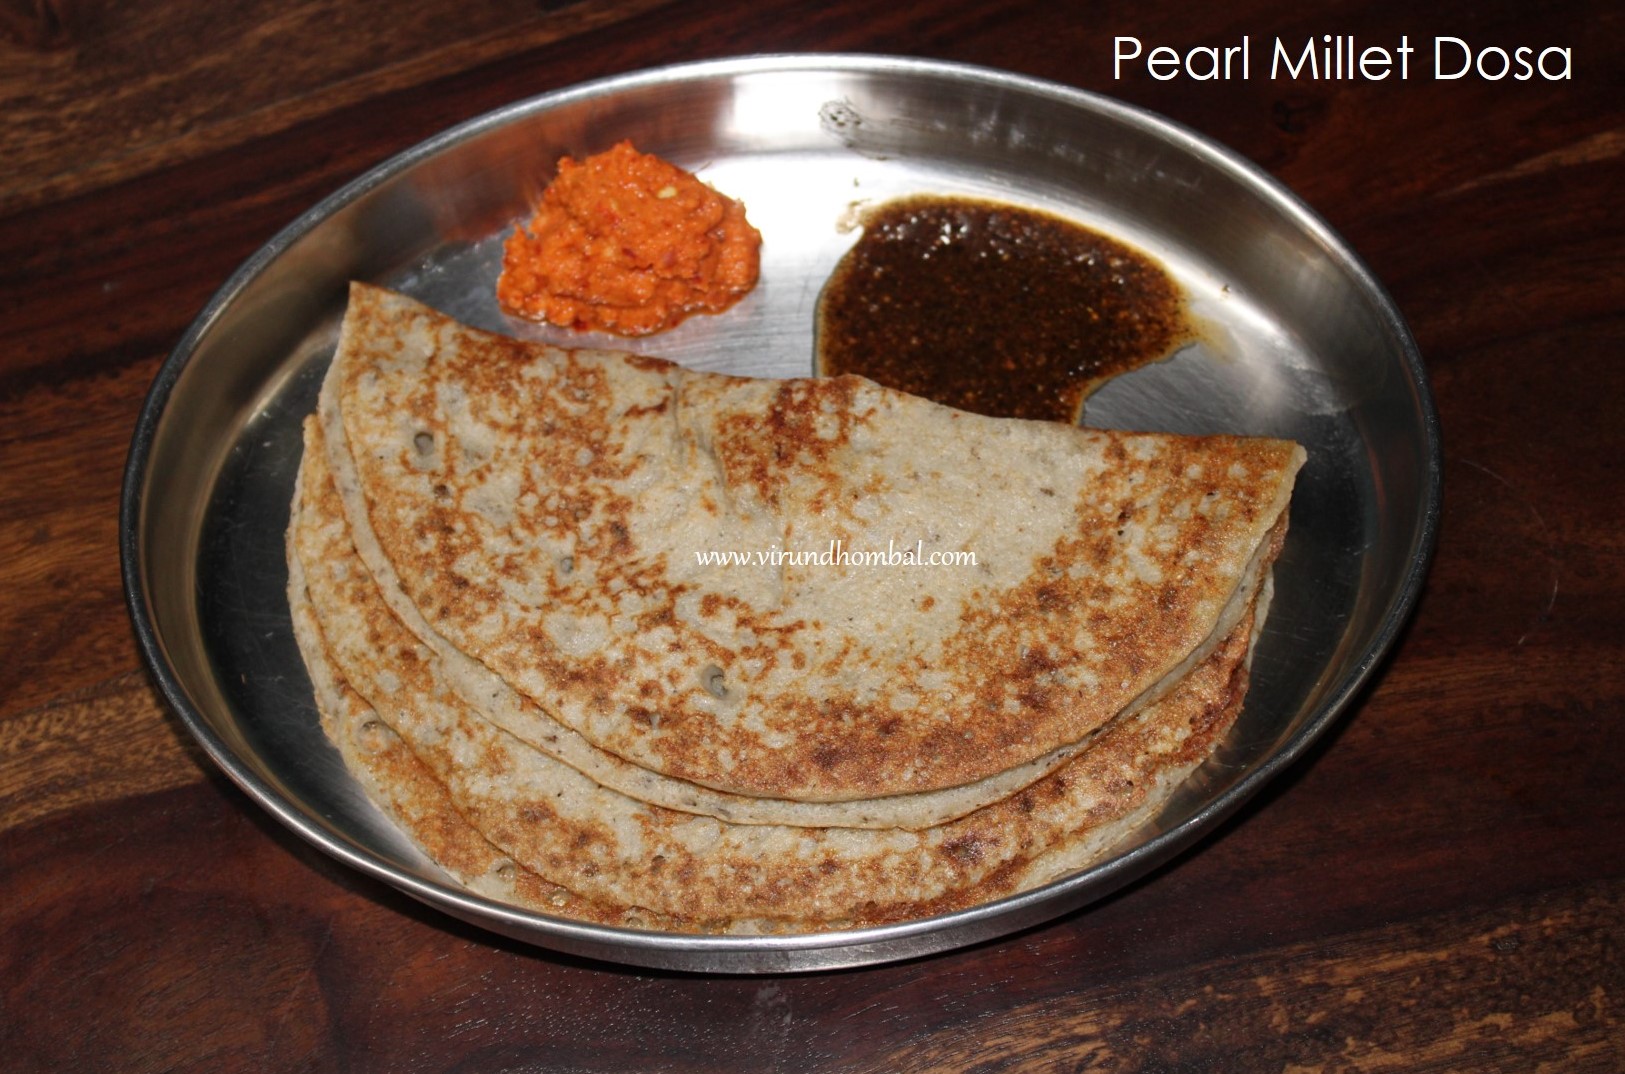
Pearl Milet Dosa - Kambu Dosa - Bajra Dosa Recipe Details

Prep time : 45 minutes
Cook time : 20 minutes
Soaking time : 4 hours
Fermentation : 8 hours
Serves : 6 to 8


Ingredients

  • 1 cup idly rice
  • 1/2 cup raw rice
  • 1 cup pearl millet
  • 1/2 cup black urid dal
  • 1 tsp fenugreek
  • salt
  • gingely oil

Cooking Directions

Measure and add the idly rice and raw rice and pearl millet in a big vessel. Rinse well  and soak it for 4 hours. 


Take black urid dal and fenugreek in a separate bowl and soak it for 1 hour. After 1 hour, rinse them 3 times. While rinsing some skins from black urid dal will be seperated. 


Start by grinding the urid dal first. Add it to the grinder and sprinkle water. Grind it for 12 to 15 minutes. 


Next, add the rice and grind it smoothly. Add water in regular intervals and then grind it. Scrape the sides and grind it.


Now transfer the ground batter to a wide vessel. Add some water to the grinder and rinse them and add it to the batter. Add the required salt and mix them well with your palm. 


Close it with the lid and allow them to ferment for 8 hours. After 8 hours, mix the batter well with the ladle. 

Heat the dosa pan on medium heat. Now take a ladle full of batter and start from the centre and gently spread it in a circular motion. Add 2 tsp gingely oil around the dosa.


Use the spatula under the dosa and gently flip the dosa. Cook for 1 more minute and remove from the pan.  


Comments

Popular posts from this blog

Mushroom Gravy With Curd - Mushroom Curd Masala

Mushroom Gravy with Curd recipe with full video and step by step pictures. This mushroom gravy preparation is little different from other gravies. As the name suggests this gravy is prepared using thick curd and the ground masala paste is made with onions, green chillies, garlic, ginger, poppy seeds, pepper and whole garam masala. The addition of whole garam masala cinnamon, cloves, fennel and cardamom makes the gravy aromatic. This gravy is a good variation from our usual kurma and masala. For this gravy there is no need for tomatoes, cashew nuts and red chilly powder.  This is a quick and easy gravy recipe with a few ingredients.  Spices - you will need bay leaf, cumin, kasuri methi leaves and coriander leaves. For the masala paste onions, ginger, garlic, green chilly, black pepper, cinnamon, cloves, fennel, cardamom and poppy seeds. Poppy seeds are added to give thickness for the gravy.  In the final stage, half teaspoon garam masala powder is sprinkled for flavour but you omit it. 

Seppankizhangu Poriyal - Taro Root (Arbi) Fry

Seppankizhangu Poriyal  - this poriyal is prepared with taro root, chilly powder, small onions cumin garlic paste and perfectly roasted in an iron kadai. The best cooking method for this taro root poriyal is to cook the taro roots in an open vessel for 10 minutes on medium heat with a good amount of water. No one likes a mushy taro root, so just keep an eye on it and check them for doneness by inserting a knife. If you cook taro roots in a pressure cooker, it will be too soft and turns mushy. For these types of roast dishes, low heat and long cooking times are important for its texture. The small onions cumin garlic paste, adds flavour to the taro roots. Roasting the taro roots in an iron kadai creates an excellent flavour and texture.   Similar recipes Vazhaikkai Thuvattal -  Raw Banana (Plantain) Stir Fry   Mithi Paavakai Poriyal - Baby Bitter Gourd Stir Fry  Vazhaikkai Poriyal - Raw Banana (Plantain) Poriyal  Brinjal (Egg Plant) Stir Fry -  Kathirikkai Poriyal  Elephant Foot Yam  St

Roadside Mochai Masala - Tirunelveli Style Mochai Recipe

This is the popular street food recipe from Tirunelveli called mochai. A healthy semi dry gravy with mochai prepared in streetside pushcarts across many places in Tirunelveli and Tuticorin.  Until recently I never had a chance to taste this mochai but my husband tasted it many times during their school days. During last month's trip to Tirunelveli, we tasted this mochai masala near Murappanaadu river. It was delicious and my son asked me to prepare this mochai for his snack box. This roadside mochai masala is made with boiled mochai beans (Lima beans), lots of onions, ginger and  green chillies. As mochai beans have a slightly bitter taste, hence you have to use plenty of onions for this masala . You have to use dried mochai for this masala.  To spice up this masala you have to add a good amount of green chillies and ginger which gives a nice flavour and tastes yummy. This mochai masala makes a filling and comforting dish for breakfast or evening snack. I prepared this mochai in a

Collection of Kuzhambu varieties for lunch

KUZHAMBU RECIPES, 20 KUZHAMBU RECIPES FOR LUNCH Kuzhambus are the foundation for a good lunch in South Indian cuisine. Although there are many rice varieties in South Indian cuisine, a bowl of rice and kuzhambu with any vegetable side dish makes our tummy happy. In this collection, I have shared many traditional Tirunelveli kuzhambu recipes. I have suggested authentic ingredients and spices in my kuzhambu recipes. If you find any spices are inconvenient, you may change according to your taste. Now let's see the collection of kuzhambu recipes here. Click on the pictures or the recipe here to view the recipe details with step by step instructions.   Collection of Kuzhambu varieties for lunch 1. Sodhi - Sodhi is one of Tirunelveli's traditional and popular kuzhambu.This kuzhambu is a special menu on the next day of marriage. A Tirunelveli wedding meal would not be complete without this Sodhi, potato poriyal and ginger chutney.  RECIPE HERE. 2. Pulikuzh

Easy Milk Sweet - Instant milk sweet with kova, condensed milk and sugar

Easy milk sweet - prepared with condensed milk, unsweetned kova, powdered sugar and ghee. You can easily prepare this milk cake within 30 minutes. Traditionally milk sweets are prepared with milk, which will take more time. We like almost any sweets based on milk products, but most of the milk sweets require some time and patience. So for a change, I planned to prepare an instant and easy milk sweet for this Diwali with unsweetened kova and condensed milk. The taste is similar to the regular milk sweet, and my son Siva enjoying it very much. Sure to become your favourite milk sweet also. To make this easy milk sweet you need unsweetened kova, condensed milk, cardamom powder, powdered sugar, chopped pistachio nuts and ghee. The  kova are sauted in ghee for a few minutes and then mixed with the condensed milk. The kova dough will look like milk halwa and when it gets thick the powdered sugar are mixed well. We have to mix the powdered sugar in two stages so that the sugar will be e

Tirunelveli Kootanchoru - Mixed vegetables rice with dals and spices

Kootanchoru is a popular lunch dish from Tirunelveli. This is our family favourite rice and it is rich in nutrients as it contains lots of vegetables and dals. We prepare this rice frequently for special events and family get togethers.  In most of Tirunelveli dishes we use small onions, garlic, coconut and generous amount of jeera. In this dish also we have used coconut small onion paste and good amount of fresh vegetables. We add commonly used vegetables such as raw banana, brinjals, drumsticks, carrots, beans and potatoes. I have learned this recipe from my grandma. She taught me with her some useful tips and techniques about how to cook, when to add the ingredients and how to choose the correct vegetables. My son named as Tirunelveli biriyani for this rice.  Now let's see how to prepare this kootanchoru with step by step photos.   Here is a short video for Tirunelveli Kootanchoru

Keerai Chaaru - Arai Keerai Kuzhambu - Arai Keerai in Tamarind Gravy

Keerai Chaaru is a quick and simple kuzhambu with arai keerai and tamarind as the main ingredient. If you are looking out for a kuzhambu recipe without any coconut or dal with simple cooking, then this keerai chaaru is the perfect recipe.  When you have a huge bundle of arai keerai, you can split them for 3 varieties. Because sometimes, it is very difficult to finish a big bowl of keerai poriyal or kootu. Last week my husband bought a big  arai keerai bundle  and I made poriyal, keerai masiyal and keerai chaaru too. My mom frequently, prepare this kuzhambu along with vazhaikkai poriyal, pottukadalai thuvaiyal and sutta appalam. I was planning to post this recipe for a long time but delayed to publish it without recipe video. Finally last week when I decided to make keerai chaaru, I took the video. A few months ago, one of my followers asked me to post this recipe and decided to post the recipe along with the video. This keerai chaaru tastes good with arai keerai. The aroma of the kuzha

Easy Paneer Gravy - Paneer Masala within 20 minutes - Paneer Recipes

This easy paneer gravy is a mouthwatering side dish made with paneer cooked in a rich gravy prepared with  onions, tomatoes and other spices. It's mild and not very spicy, which tastes so good with chapathi, nann, roti and pulao.  Paneer gravies can be made in a variety of ways. This recipe is the easy version of paneer butter masala. Most of the time we prepare paneer gravy with fresh cream, butter and cashew nuts. To make a tasty paneer masala, you do not need fresh cream. You can easily make restaurant style paneer gravy with easily available ingredients in your kitchen. I always like to add a few cashew nuts while making gravies, which gives a creamy consistency. The addition of dried kasuri methi leaves gives a unique flavour for paneer based gravies. I used homemade garamasala powder for gravies which does not include red chillies or pepper in it. Add garamasala powder to your personal taste preferences.Now let's see how to prepare this easy paneer gravy with step by step

Chana Masala - Homestyle Chana Masala - Chana Masala for poori, chapathi and nann

Today we are going to see our all time favourite Chana Masala. It's a simple yet complete food that's easy to make within 30 minutes. I got this recipe from our friend's mom who is from Bodi. The flavours are just delicious. She gave me one kg of her homemade garamasala powder and it is one of our new favourites! The garamasala powder is free from the addition of preservatives, artificial colours and mono sodium glutamate. Any masalas or kurmas made with a unique blend of spices, tastes good. I have been trying to make my own garamasala powder but just keep putting it off. Now I am confident to prepare homemade garamasala powder as she clearly explained the recipe with exact ingredients and measurements. I will try posting the homemade garamasala recipe in virundhombal soon. During our visit to their house, she prepared so many dishes and all of them were lip smacking and the masalas were perfectly balanced, not overpowering the other.  This Chana masala is not the authenti

Vellai curry (Sambar without dal) - Tirunelveli Vellai Curry

Vellai curry(Sambar without dal) Vellai curry is another popular kuzhambu from Tirunelveli. Very few ingredients, fast and really tasty.  This Vellai curry is served along with kadaintha keerai ( keerai masiyal) or paruppu(dal) with plain rice. This kuzhambu is similar to karakuzhambu. You can add any seasonal vegetables or cooked lentils such as chickpeas and mochai. This kuzhambu takes about 20 minutes, uses ingredients that I always have on hand and tastes so good. You can adjust the heat by adjusting the amount of chilly powder and sambar powder. I always use homemade chilly powder which is not spicy. If you are using store bought chilly powder then,  reduce the quantity. I used the same technique of adding asafoetdia in the final stage, which really brightens up the flavours.  If you try this kuzhambu I promise it will become one of your regulars. Let's see how to prepare this Vellai curry with step by step photos. Check out my other kuzhambu varities also.