
Easy Paneer Gravy - Paneer Masala within 20 minutes - Paneer Recipes

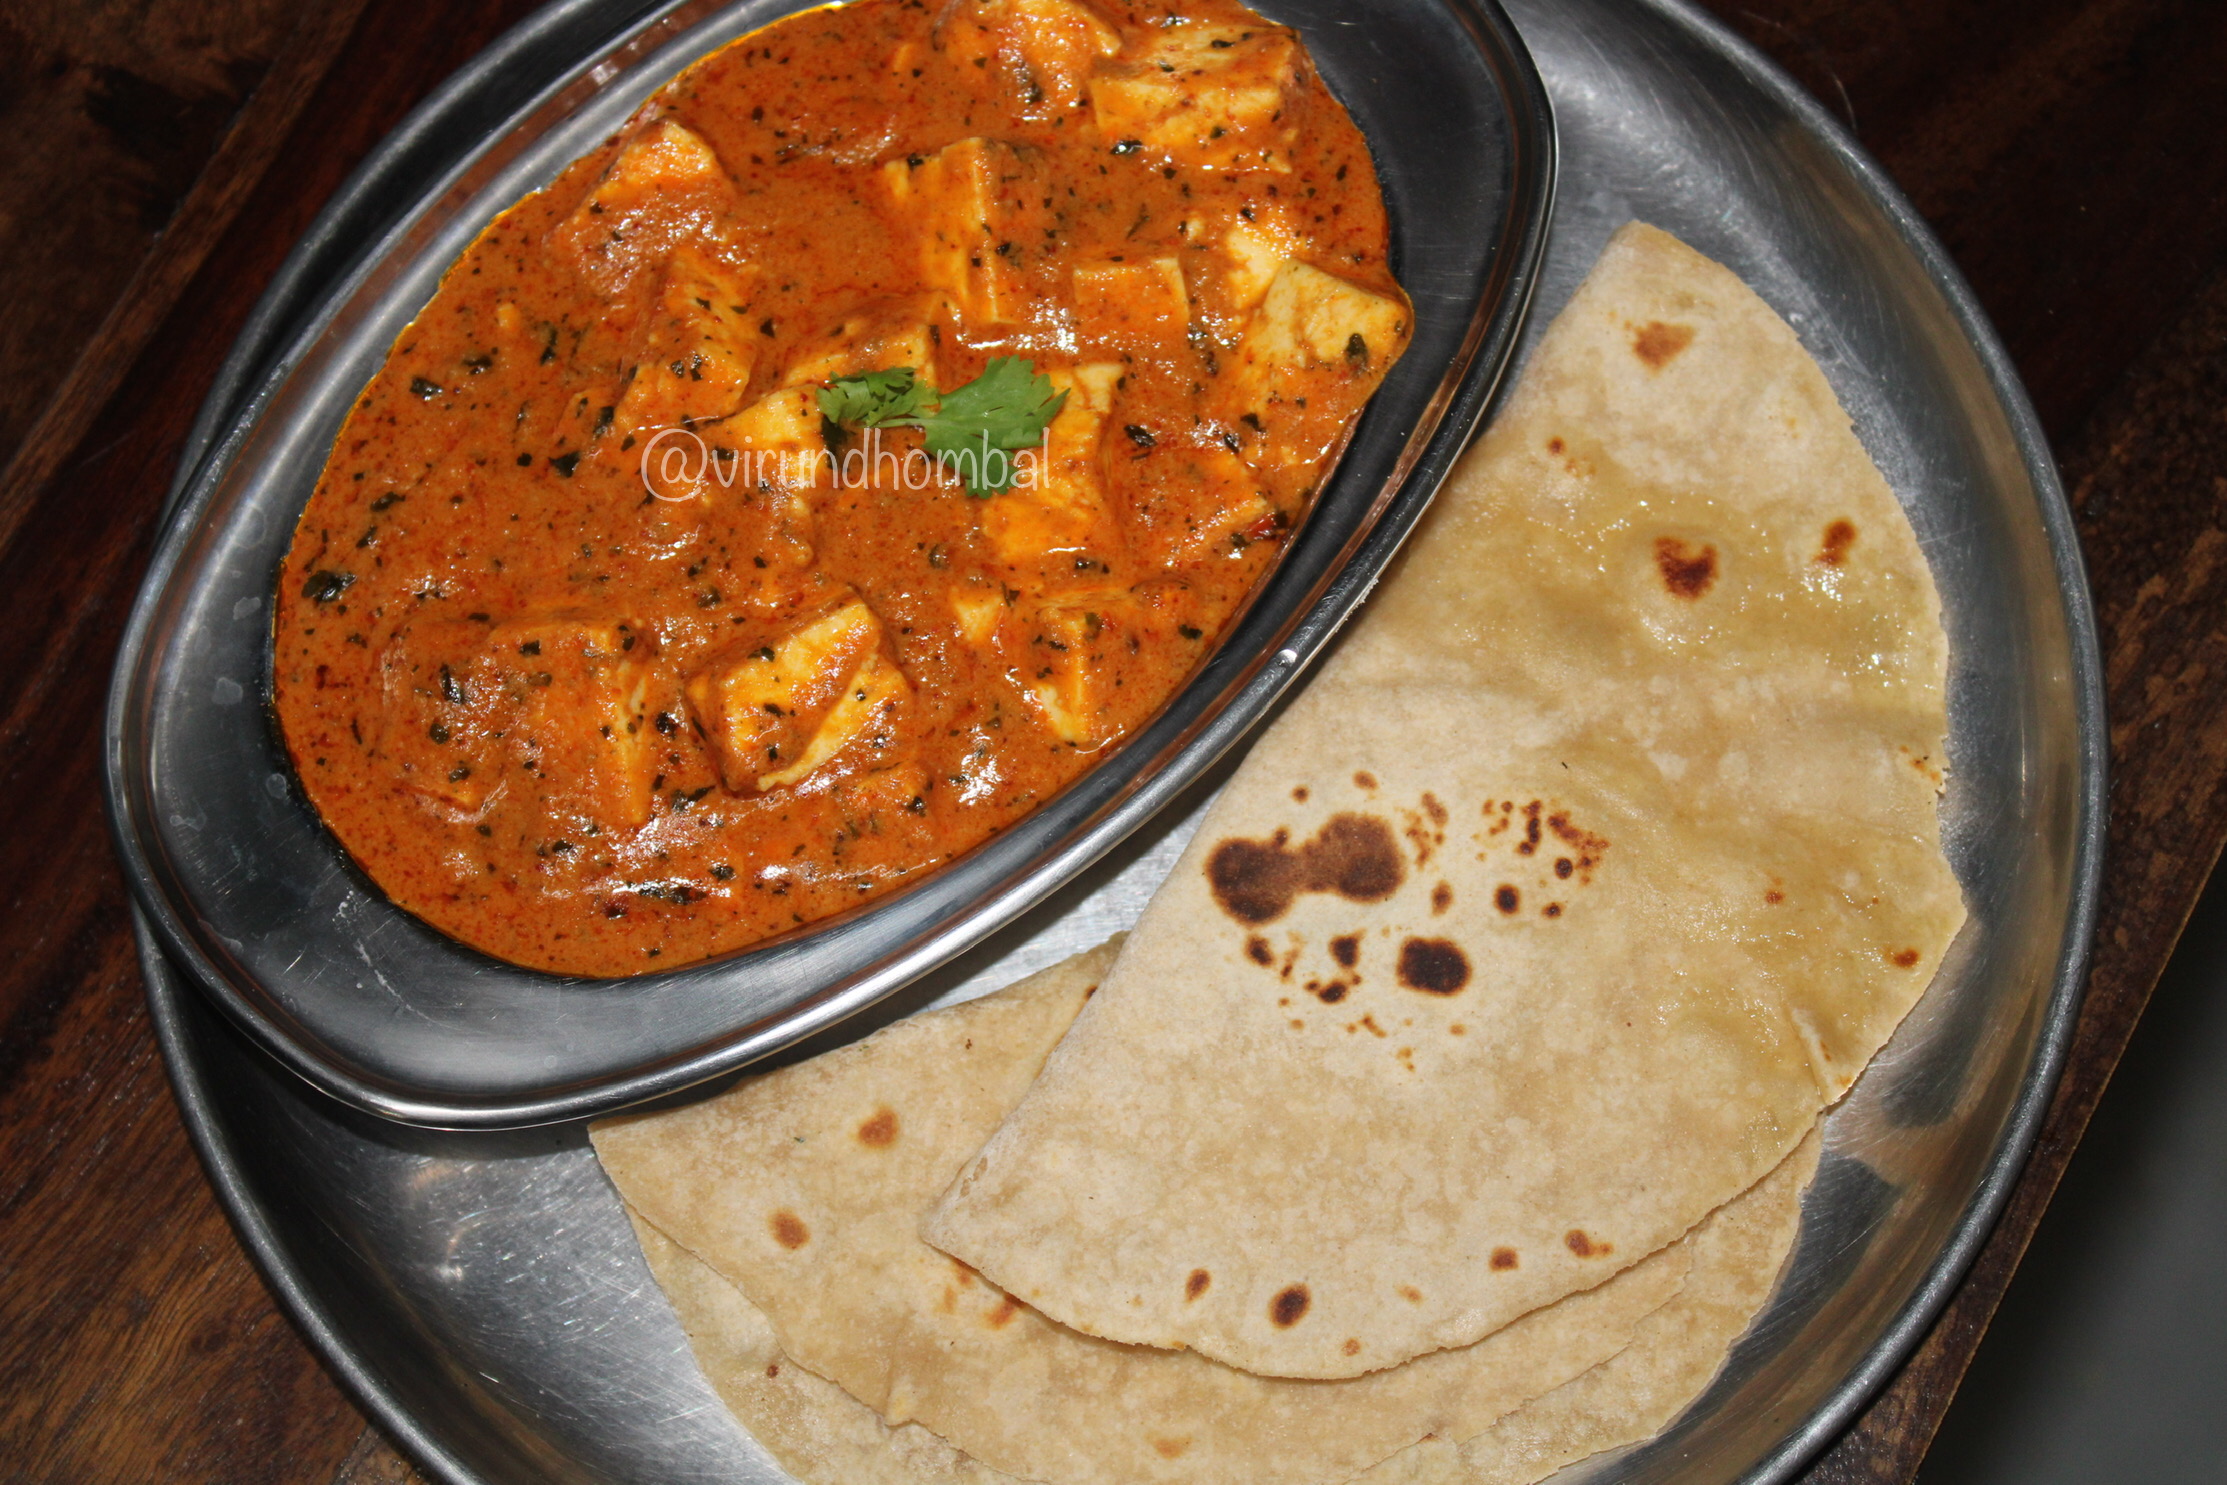
This easy paneer gravy is a mouthwatering side dish made with paneer cooked in a rich gravy prepared with  onions, tomatoes and other spices. It's mild and not very spicy, which tastes so good with chapathi, nann, roti and pulao. 


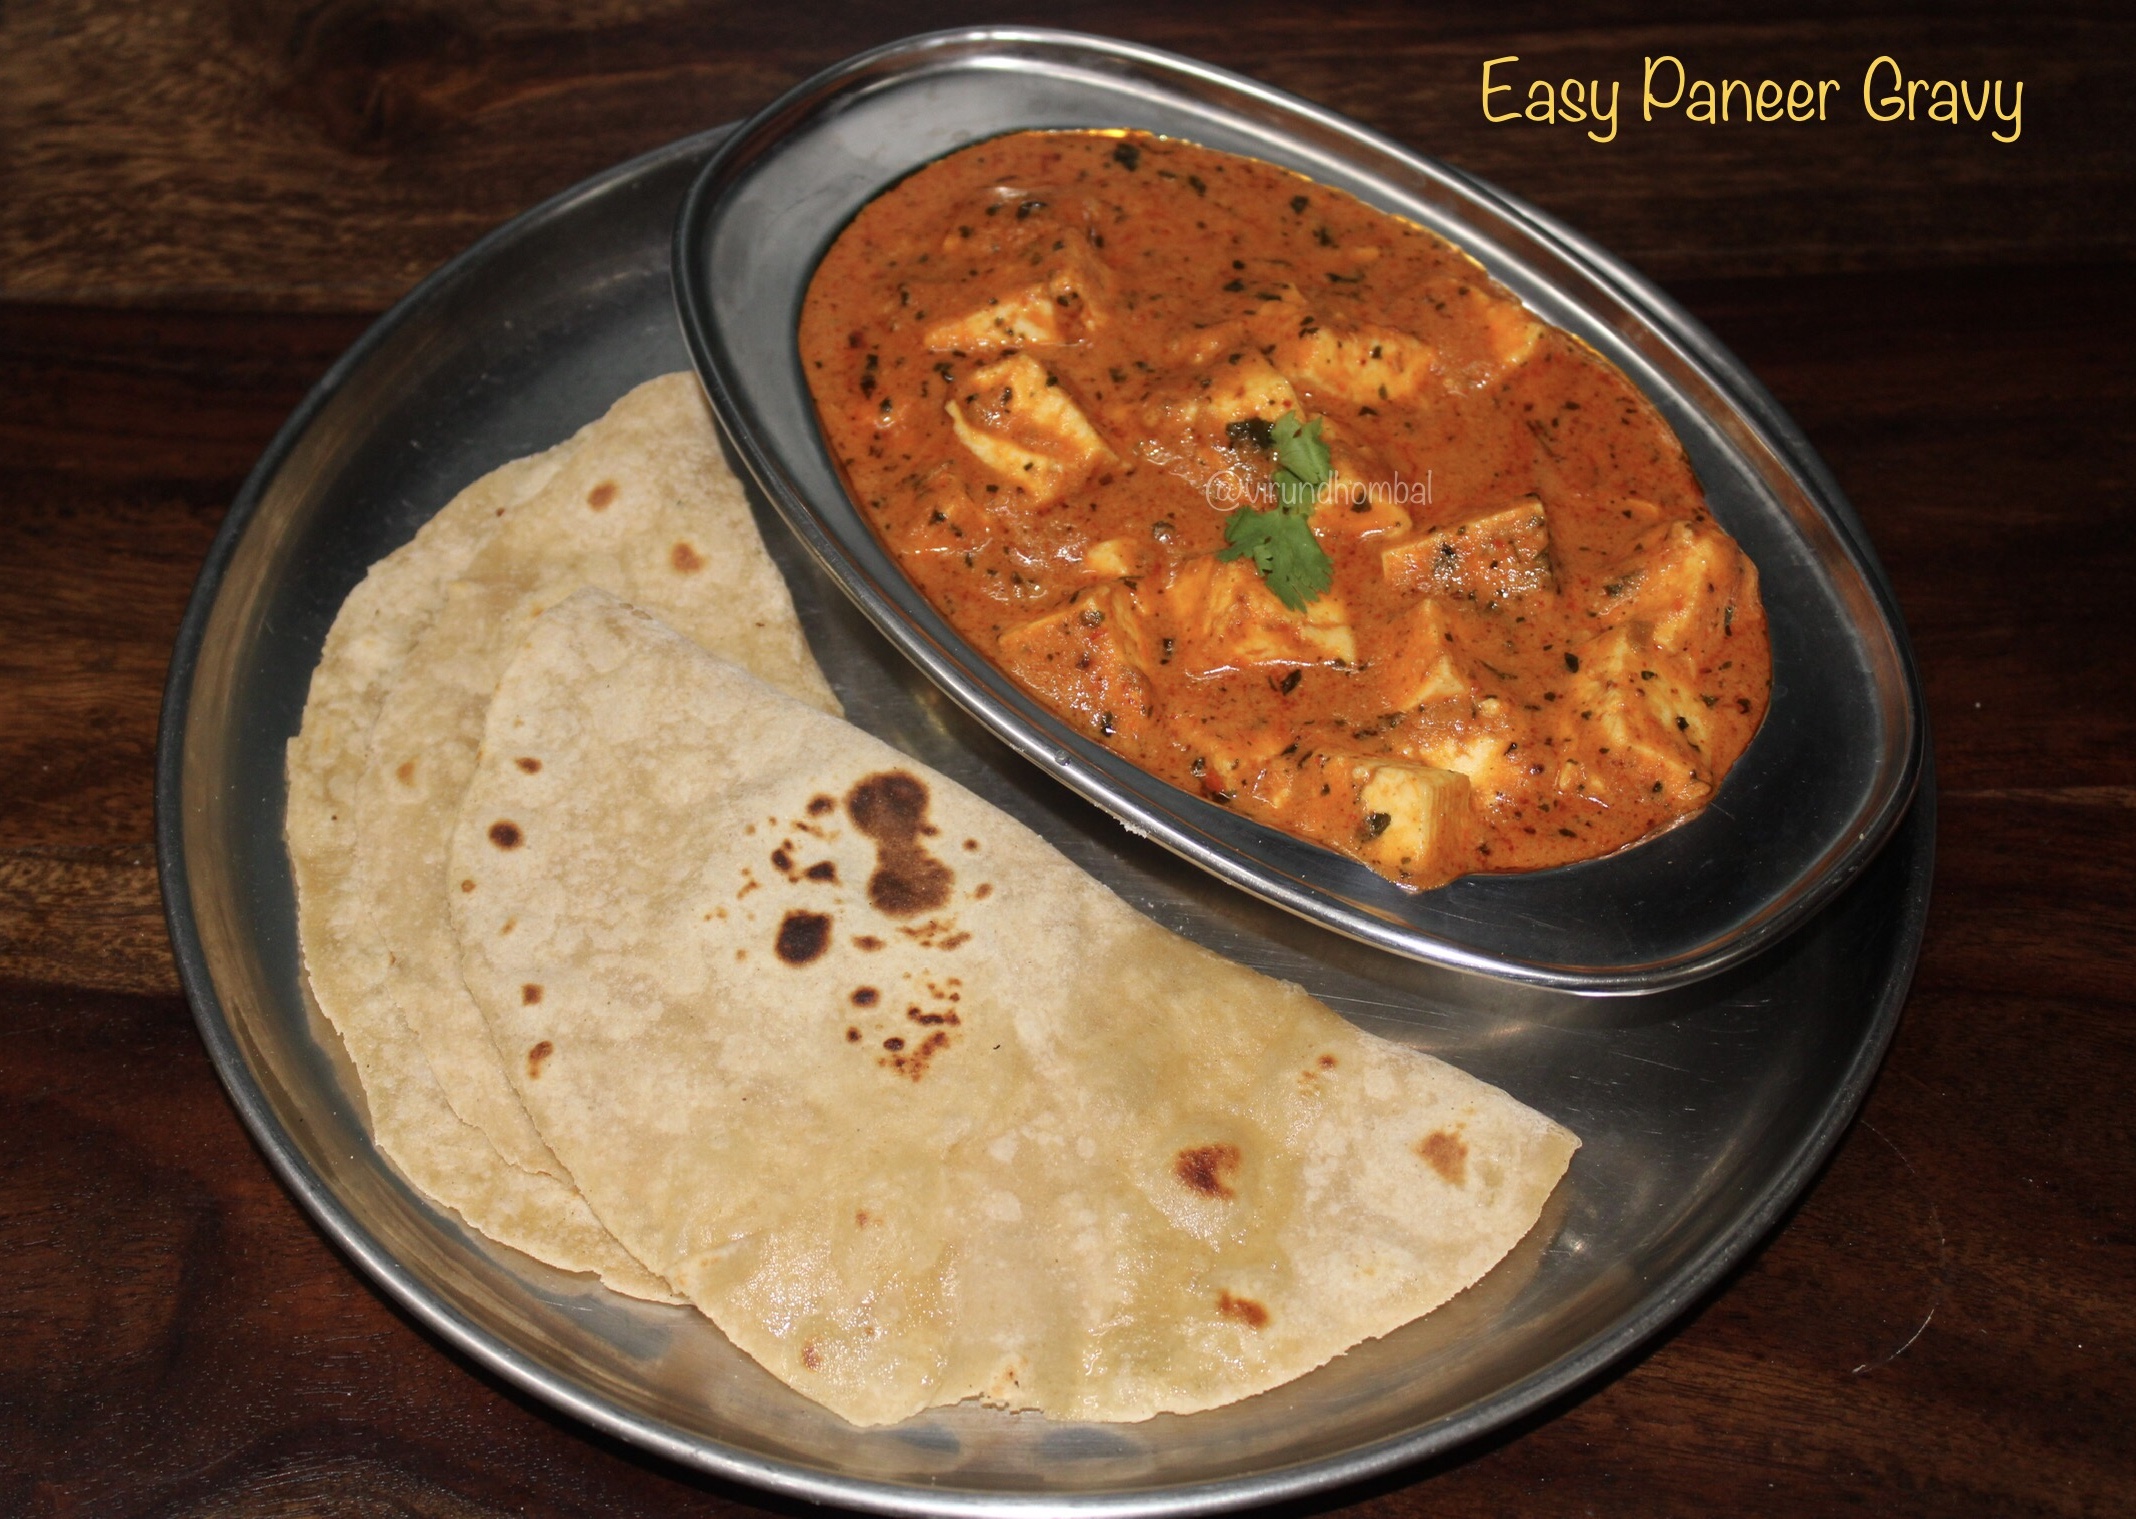
Paneer gravies can be made in a variety of ways. This recipe is the easy version of paneer butter masala. Most of the time we prepare paneer gravy with fresh cream, butter and cashew nuts. To make a tasty paneer masala, you do not need fresh cream. You can easily make restaurant style paneer gravy with easily available ingredients in your kitchen. I always like to add a few cashew nuts while making gravies, which gives a creamy consistency. The addition of dried kasuri methi leaves gives a unique flavour for paneer based gravies. I used homemade garamasala powder for gravies which does not include red chillies or pepper in it. Add garamasala powder to your personal taste preferences.Now let's see how to prepare this easy paneer gravy with step by step instructions and a short video. I hope you enjoy this recipe.  


Check out my other Gravy Recipes

Here is the video link for Easy Paneer Gravy


Easy Paneer Gravy Recipe Details

Prep time : 10 minutes
Cook time : 20 minutes
Serves : 3
Category : gravies
Author : Muthulakshmi Madhavakrishnan

Ingredients

  • 200 grams paneer
  • 1 onion
  • 2 tomato 
  • 8 garlic cloves 
  • 1 tsp ginger
  • 7 cashew nuts 
  • 2 cinnamon 
  • 3 cloves
  • 2 cardamom 
  • 1 bay leaf
  • 1 tsp Kashmiri chilly powder
  •  1/2 tsp red chilly powder 
  • 1 tsp coriander powder 
  • 1/4 tsp roasted  cumin powder 
  • 1 tsp garamasala powder 
  • 1/2 cup cold milk
  • 1 tbsp dried kasuri methi leaves 
  • salt to taste
  •  4 tbsp oil

Cooking Directions 

Heat a kadai for a minute and add the dried kasuri methi leaves. Dry roast the leaves on low heat until you get a nice aroma and turn off the heat. Transfer it to a plate and allow it to cool down for 5 minutes and gently crush them with your fingers.


Heat 2 tsp oil and add cinnamon, cloves and cardamom. When the spices begin to sizzle, add the garlic and ginger and saute for a few minutes. Add the onions and saute well for a few minutes till they become transparent. This just takes 2 minutes. Next add the tomatoes followed by cashewnuts. Saute until the tomatoes turn soft. Turn off the heat and allow them to cool completely.


 Add it to a mixer jar and grind it to a smooth paste.


Heat 3 tbsp oil in the same kadai and add 1 bay leaf. Now add Kashmiri chilly powder, chilly powder, coriander powder and roasted cumin powder. Take care to add the spice powders. Do not burn the spice powders. Stir quickly and add the ground masala paste. 


Stir the masala paste very well for a few minutes and mix it well with the spice powders. Rinse the mixer jar with 1/2 cup water and add it to the kadai. If it is too thick, add another half cup of water.


Add required salt and garamasala powder. Cover and cook the gravy on medium heat until the oil specks on the top of the gravy. 


When the gravy reaches the desired consistency, add 1/2 cup cold milk and crushed kasuri methi leaves. 


At this stage, add the paneer cubes and mix gently. Cook the gravy for 2 to 3 minutes and turn off the heat. Do not cook the gravy longer after adding paneer because it makes the paneer harder. Transfer the gravy to the serving dish. 


Enjoy the paneer gravy with chapathi, pulao or nann. 


ஈஸி பனீர் கிரேவி தமிழில்

Comments

Popular posts from this blog

Tirunelveli Kootanchoru - Mixed vegetables rice with dals and spices

Kootanchoru is a popular lunch dish from Tirunelveli. This is our family favourite rice and it is rich in nutrients as it contains lots of vegetables and dals. We prepare this rice frequently for special events and family get togethers.  In most of Tirunelveli dishes we use small onions, garlic, coconut and generous amount of jeera. In this dish also we have used coconut small onion paste and good amount of fresh vegetables. We add commonly used vegetables such as raw banana, brinjals, drumsticks, carrots, beans and potatoes. I have learned this recipe from my grandma. She taught me with her some useful tips and techniques about how to cook, when to add the ingredients and how to choose the correct vegetables. My son named as Tirunelveli biriyani for this rice.  Now let's see how to prepare this kootanchoru with step by step photos.   Here is a short video for Tirunelveli Kootanchoru

Collection of Kuzhambu varieties for lunch

KUZHAMBU RECIPES, 20 KUZHAMBU RECIPES FOR LUNCH Kuzhambus are the foundation for a good lunch in South Indian cuisine. Although there are many rice varieties in South Indian cuisine, a bowl of rice and kuzhambu with any vegetable side dish makes our tummy happy. In this collection, I have shared many traditional Tirunelveli kuzhambu recipes. I have suggested authentic ingredients and spices in my kuzhambu recipes. If you find any spices are inconvenient, you may change according to your taste. Now let's see the collection of kuzhambu recipes here. Click on the pictures or the recipe here to view the recipe details with step by step instructions.   Collection of Kuzhambu varieties for lunch 1. Sodhi - Sodhi is one of Tirunelveli's traditional and popular kuzhambu.This kuzhambu is a special menu on the next day of marriage. A Tirunelveli wedding meal would not be complete without this Sodhi, potato poriyal and ginger chutney.  RECIPE HERE. 2. Pulikuzh

Street Style Vegetable Fried Rice - Quick Recipe of Veg Fried Rice Street Food Style

Today we are going to see an interesting street style vegetable fried rice with simple cooking techniques. For the past twenty years, vegetable fried rice and pani puri have been a favourite food for many of us. Everywhere we can see, these two dishes are the stars of the street food. One day during our trip to Tirumala, I learnt this street style vegetable fried rice from a street food vendor. He prepared varieties of fried rice within a few minutes, very casually. As he was preparing, I saw exactly how it was done. There's something magical about eating hot fried rice on the streets.The sound of the street vendors tossing the tang tang with their wok is always enjoyable to me. How to make street style vegetable fried rice in your home kitchen  You can use basmati rice or long grain rice. Always prefer the open pot method to cook the rice for fried rice. The texture will be perfect with less stickiness. Brands such as Unity and India Gate are perfect for fried rice.  You can use s

Quick Paneer Masala - 15 minute Paneer Gravy - Easy Paneer Masala

Quick Paneer Masala - this homemade restaurant style paneer masala is one of my most frequently made gravy recipes. It's perfect with chapathi, poori, nann and also for pulao varieties. Fresh tomatoes help to  make the best gravy, especially when you use red ripe tomatoes. What makes this quick paneer masala easy to make and why it calls for 15 minute gravy is because instead of pureeing the tomatoes, it's made with ground tomato paste. For paneer butter masala, we blanch the tomatoes and then made into puree. But I want to prepare a quick gravy with simple process. During the summer season, I like to prepare gravy and sambar with a shortcut.This quick paneer masala is one of the best 15 minute gravy recipes for beginners and also for busy mothers. I am actually really excited about this gravy because this paneer masala is made without any artificial colours, fresh cream. It has a delicious flavour with a smooth, creamy gravy.    Tips for the best Paneer masala Use fresh ingred

Collection of side dishes for lunch

Collection of side dishes for lunch Here is a collection of vegetable side dishes like thuvaram, kootu, aviyal, pachadi, puttu etc for your everyday lunch. All the dishes are very easy and healthy.

Wheat Rava Kichadi With Vegetables - Samba Godhuma Rava Kichadi - Healthy Breakfast

A healthy diabetic friendly kichadi recipe made with wheat rava. You can start your breakfast with a cup of this healthy kichadi as it includes carrot, green peas and beans which blend together beautifully with wheat rava. A handful of fresh green peas gives a slightly sweet taste for the kichadi.  There are two main varieties of wheat rava - medium coarse and fine coarse. Fine coarse wheat rava is my favourite for kichadi and upma dishes. Medium coarse wheat rava is perfect for sweet pongal and payasam. Both types require more time to cook when compared to regular white rava. Fine coarse wheat rava doesn't need to be roasted for this kichadi. To cook 1 cup fine coarse wheat rava you will need 3 cups of water. After preparing the kichadi you should let it stand for 15 minutes, covered and undisturbed for a perfect fluffy texture. And once you find how to cook wheat rava perfectly, you will be making it regularly for your breakfast.  Check out my other tiffin recipes here Idli Black

Collection of Poriyal & Thoran - South Indian Vegetable Side Dishes for Lunch

Every day we prepare two varieties of vegetable side dishes for our lunch. Among those two varieties there must be a poriyal dish and the other one is kootu, aviyal or varuval. Varieties of poriyal  dishes are countless with our seasonal vegetables. As I said in my poriyal or thuvaram dishes, we add the ground coconut mixture prepared with coconut, small onions, garlic cloves and red chilly or green chilly. This unique coconut paste is often used in our poriyal or thuvaram dishes. Some prefer to add grated coconut or desiccated coconut powder for poriyal dishes. I actually don't like poriyal dishes made without any flavours. For me, poriyal must have a mix of flavours with perfect textures. We usually precook the vegetables in a vessel (except for keerai poriyal) and then we saute it with the tempering ingredients and finished with our coconut mixture. If you find it difficult to precook the vegetables, you can prepare as you like. But actually pre cooking the

Seppankizhangu Poriyal - Taro Root (Arbi) Fry

Seppankizhangu Poriyal  - this poriyal is prepared with taro root, chilly powder, small onions cumin garlic paste and perfectly roasted in an iron kadai. The best cooking method for this taro root poriyal is to cook the taro roots in an open vessel for 10 minutes on medium heat with a good amount of water. No one likes a mushy taro root, so just keep an eye on it and check them for doneness by inserting a knife. If you cook taro roots in a pressure cooker, it will be too soft and turns mushy. For these types of roast dishes, low heat and long cooking times are important for its texture. The small onions cumin garlic paste, adds flavour to the taro roots. Roasting the taro roots in an iron kadai creates an excellent flavour and texture.   Similar recipes Vazhaikkai Thuvattal -  Raw Banana (Plantain) Stir Fry   Mithi Paavakai Poriyal - Baby Bitter Gourd Stir Fry  Vazhaikkai Poriyal - Raw Banana (Plantain) Poriyal  Brinjal (Egg Plant) Stir Fry -  Kathirikkai Poriyal  Elephant Foot Yam  St

Easy Milk Sweet - Instant milk sweet with kova, condensed milk and sugar

Easy milk sweet - prepared with condensed milk, unsweetned kova, powdered sugar and ghee. You can easily prepare this milk cake within 30 minutes. Traditionally milk sweets are prepared with milk, which will take more time. We like almost any sweets based on milk products, but most of the milk sweets require some time and patience. So for a change, I planned to prepare an instant and easy milk sweet for this Diwali with unsweetened kova and condensed milk. The taste is similar to the regular milk sweet, and my son Siva enjoying it very much. Sure to become your favourite milk sweet also. To make this easy milk sweet you need unsweetened kova, condensed milk, cardamom powder, powdered sugar, chopped pistachio nuts and ghee. The  kova are sauted in ghee for a few minutes and then mixed with the condensed milk. The kova dough will look like milk halwa and when it gets thick the powdered sugar are mixed well. We have to mix the powdered sugar in two stages so that the sugar will be e

Roadside Mochai Masala - Tirunelveli Style Mochai Recipe

This is the popular street food recipe from Tirunelveli called mochai. A healthy semi dry gravy with mochai prepared in streetside pushcarts across many places in Tirunelveli and Tuticorin.  Until recently I never had a chance to taste this mochai but my husband tasted it many times during their school days. During last month's trip to Tirunelveli, we tasted this mochai masala near Murappanaadu river. It was delicious and my son asked me to prepare this mochai for his snack box. This roadside mochai masala is made with boiled mochai beans (Lima beans), lots of onions, ginger and  green chillies. As mochai beans have a slightly bitter taste, hence you have to use plenty of onions for this masala . You have to use dried mochai for this masala.  To spice up this masala you have to add a good amount of green chillies and ginger which gives a nice flavour and tastes yummy. This mochai masala makes a filling and comforting dish for breakfast or evening snack. I prepared this mochai in a