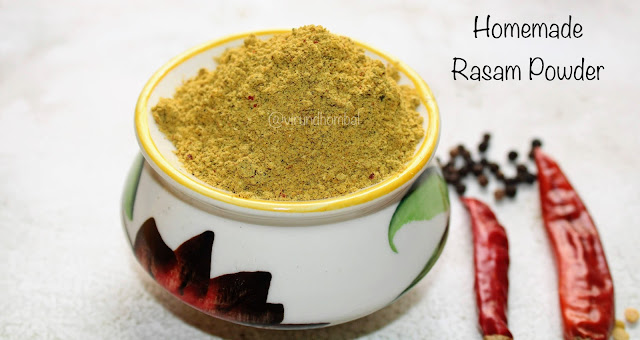
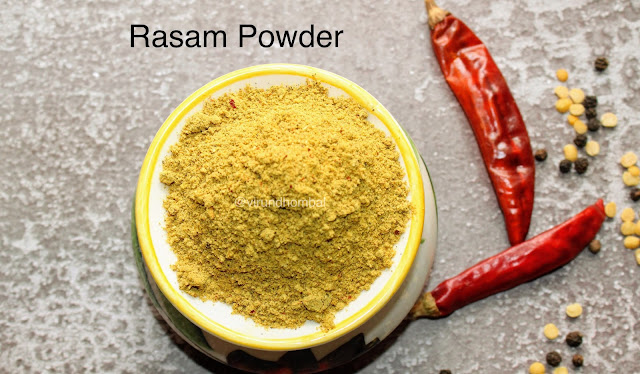
Rasam powder recipe with step by step pictures and video. Once you prepare your own homemade rasam powder you won't buy store bought readymade powders. Today we are going to prepare rasam powder in small batches that stay good for longer. Also, it is easy to prepare within 20 minutes. In South India every home has a different recipe to prepare rasam powder depending on their taste. This rasam powder is super flavourful and you can prepare any varieties like tomato rasam, paruppu rasam, garlic rasam etc.
Now let's see some important tips to prepare homemade rasam powder.
- Measure each ingredient in the right amount and roast the spices one by one in the correct heat till aromatic. Use fresh spices, not old ones. This is especially important for coriander seeds.
- Use a heavy bottomed kadai or a flat pan for roasting the spices because the spices get roasted uniformly. Remember to stir often when roasting and do not burn them. Before you begin roasting the spices, take all the spices nearby and start preparing.
- Each spice will require different times. If you are preparing in larger quantities, it is important to roast in batches when you are roasting the dals and coriander seeds. Toor dal takes longer to roast than the spices and the dals should become golden brown before transferring to the plate. If you miss the correct stage, the aroma will be less in the powder. I will tell you another trick, if the toor dals are roasted well, it's heat will be very hot to touch.
- Coriander seeds also require 1 to 2 minutes to roast. After adding coriander seeds, stir well until they smell aromatic. Do not brown them too much. The spices cumin, pepper and fenugreek will require very less time and very soon turn aromatic.
- I have used compounded asafoetida, so roasted in the kadai for a few seconds. If you are using asafoetida powder, turn off the heat and roast it for a few seconds in the kadai heat to prevent burning. Before grinding, just add 1 teaspoon turmeric powder and then powder it finely.
Here is the video link for Rasam Podwer
Rasam Powder - Homemade Rasam Powder Recipe Details
Prep time : 10 minutes
Cook time : 15 minutes
Yields : 200 grams
Author : Muthulakshmi Madhavakrishnan
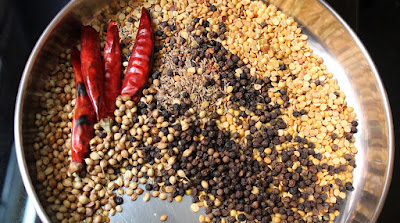
Ingredients
- 1/2 cup toor dal
- 1/4 cup coriander seeds
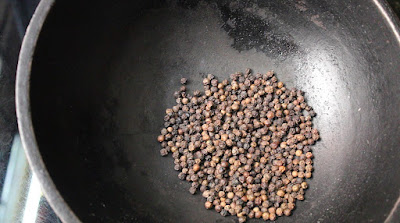
- 1/8 cup pepper
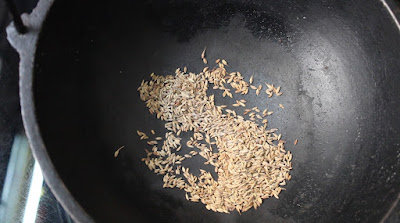
- 1 tbsp cumin
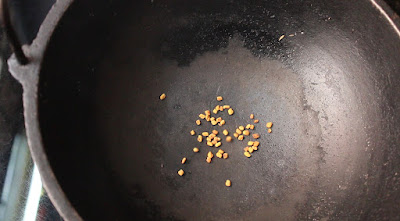
- 1/2 tsp fenugreek
- small piece asafoetida
- 1 tsp turmeric powder
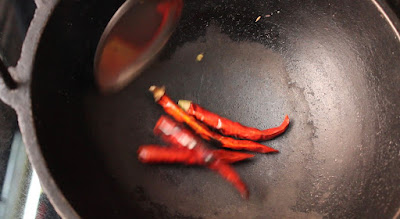
- 4 red chilly
Cooking Directions
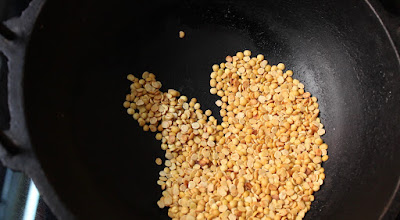
Measure and keep all the ingredients ready. Heat a heavy bottomed kadai for 2 minutes on medium heat. Add toor dal and keep stirring the dals and fry until golden brown and aromatic. It takes exactly 2 minutes for the perfect aroma. Transfer it to a separate plate.
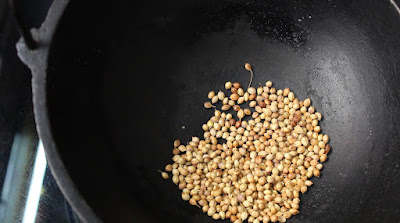
Next add coriander seeds and stir continuously. Roast coriander seeds until aromatic. At this time the colour will start to change. Transfer it to the same plate.
Add the pepper and roast till you get the pungent aroma. Remove from the heat and add cumin. Stir often and roast it for a few seconds and remove from the heat.
Then add fenugreek. Roast until they turn aromatic and remove from heat.
Add red chillies. Stir and roast them until the colour changes a bit. No need to fry them for a long time.
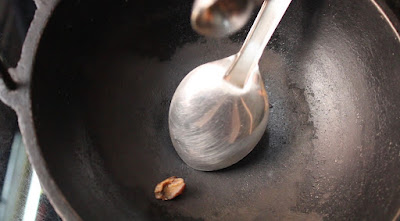
Remove from the heat and add asafoetida. Roast them for a few seconds and transfer it to a separate plate. Crush the roasted asafoetida with a stone or mortar pestle and then add it for grinding.
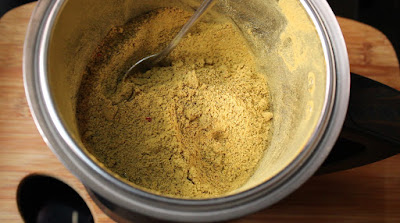
Let the spices and dals cool completely and then add it to a mixer jar. Add turmeric powder and crushed asafoetida.

Grind it to a fine powder. Once the rasam powder cools down, transfer it in a glass container.
Always use a dry spoon to use the rasam powder. This rasam powder stays good for 3 months.
Comments
Post a Comment